Add value to your course with Teachify LMS Certificates. With Teachify Certificate, issue custom certificates of completion to boost your course credibility and increase student success.
Installation
After purchase and download the Certificate Plugin for the Teachify LMS, You will get a zip file certificate-plugin**.zip which contains two directories, you need to unzip first of this zip file which you downloaded from the themeqx.com > My Download section. After unzipping the plugin, you can see two directories’ names below.
- Certificate
- CertificateAssets
Upload Certificate directory to Teachify LMS root > app > Plugins directory. Your Directory structure should look like below.
Upload CertificateAssets directory to Teachify LMS root > public > Plugins directory. Your Directory structure should look like below.
Note: your public directory could be public or root directory. Upload CertificateAssets on the same directory where your assets directory located.
After upload the plugin, activate it by following steps.
- Log in to Teachify LMS as Admin.
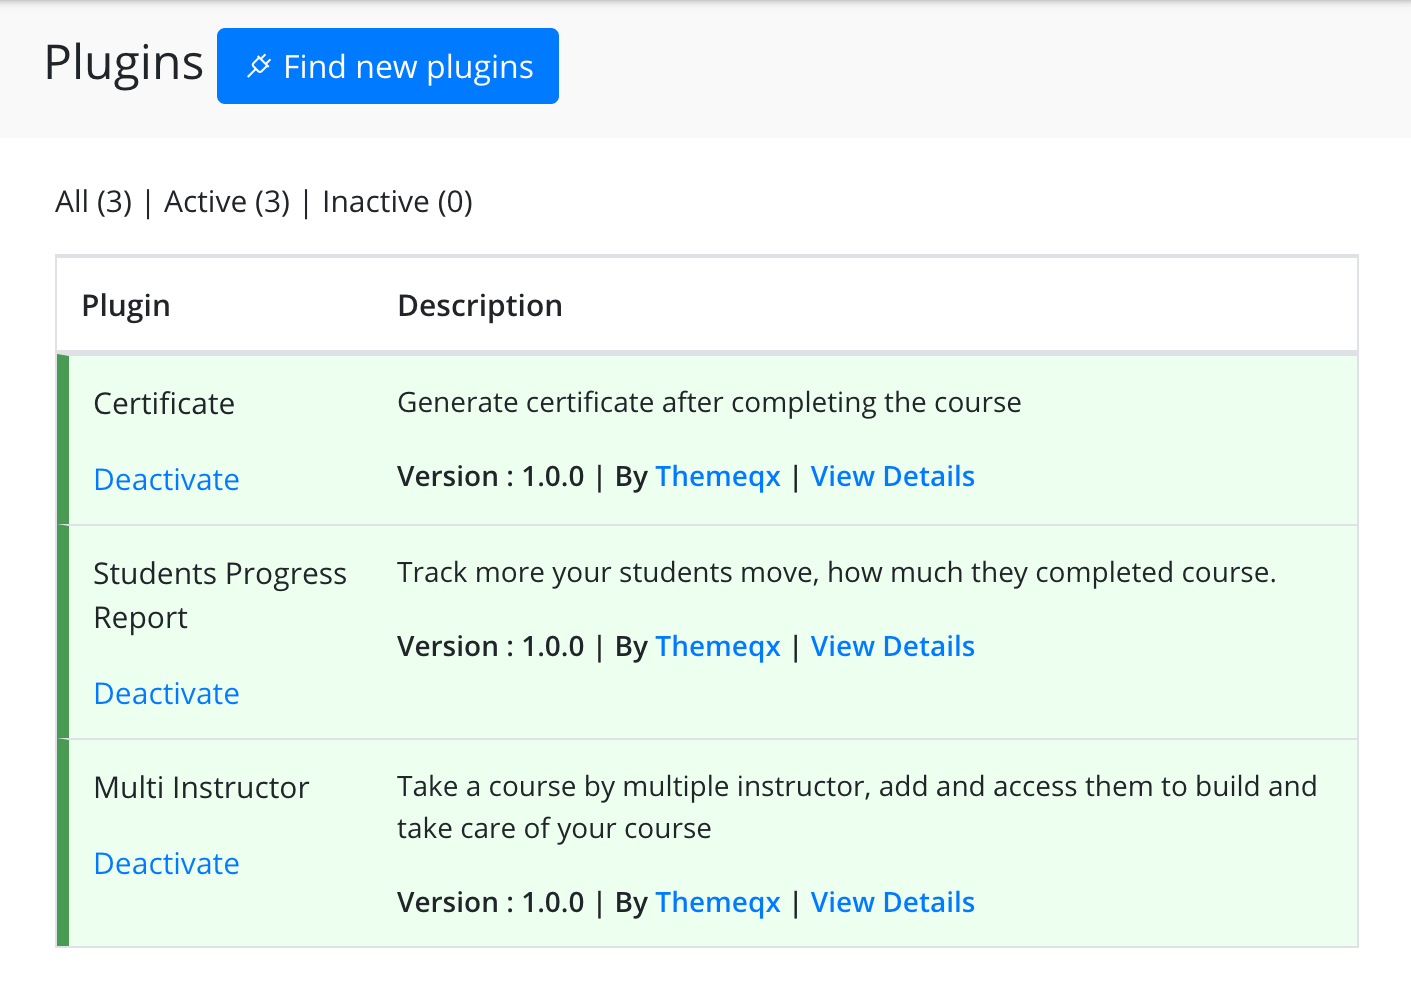
- Go to Admin Panel > Plugins > All Plugins.
- Locate the Certificate
- Click Activate.
Your Plugin should be activated within a moment. All activated plugin’s background will be green colored with a left green border. Activated plugins look like below.
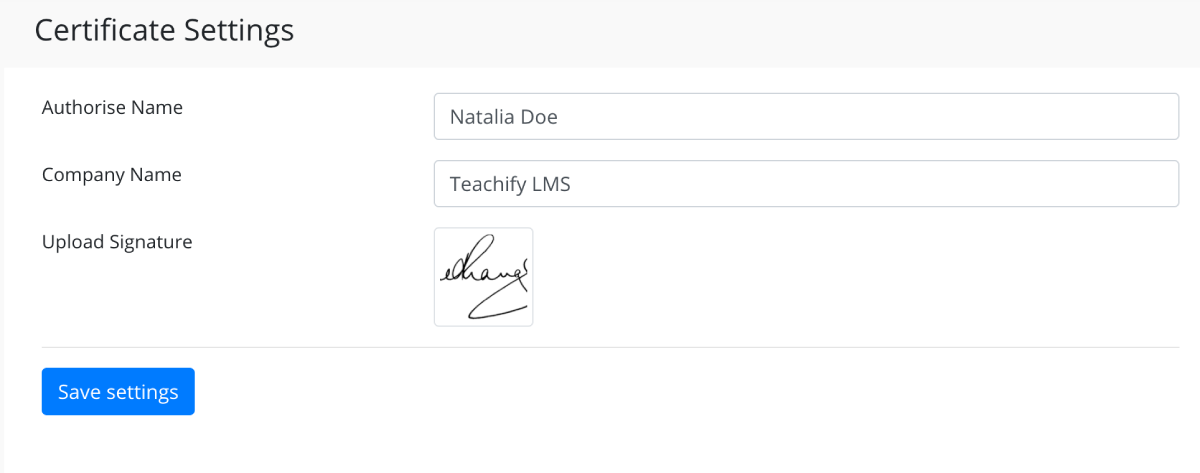
Certificate Settings
You can set Authorize Name, Company Name, and Upload Signature from the certificate settings, to do, follow the below steps.
- Log in to Teachify LMS as Admin.
- Go to Admin Panel > Certificate Settings
- Fill all fields to authorize certificates.
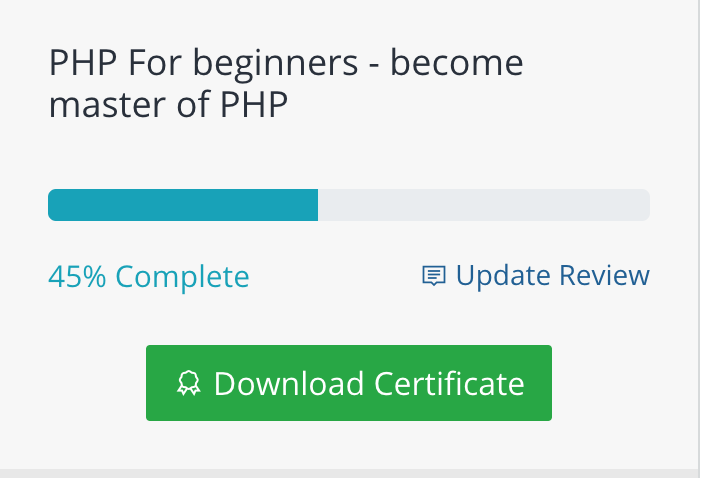
Generate Certificates
After finish a course, students can generate a certificate from the course progress sections in the course content page.